Bardi's 1st Generation Acura TSX Short ShifterInstallation & ReviewBackgroundConsider any subsystem in your car. It has a function to do, but the ways to design it are infinite. In the case of the shifter, the OEM has to decide at some point where the lever will be positioned, how much throw will be used to select gears, how much effort is needed to shift, and how to keep everything in balance to attain a certain "feel."The TSX came to market as an entry level luxury vehicle, marketed as a sport sedan. Clean in styling and fun to drive with its high-revving 4cyl engine and 6 speed gear box, I've been very satisfied with the TSX. With over 130k miles over the past 7+ years of owning this car, I've had plenty of time to think about likes and dislikes. Overall, not to many complete dislikes, but a few places where I'd like to make improvements or customizations, mainly to move to a slightly different position along the "luxury vs. performance compromise curve." I've always liked and appreciated the design work that went into the OEM shifter. Shifting is extremely smooth, takes very little little effort, and the action is controlled and predictable. Over time, I starting thinking a reduction in throw would be nice. Ergonomically, a slightly lower position for the shift knob would be better for me. I also became increasingly aware of the play in the mechanism itself, which was likely increasing over time as well. I've been thinking about getting a short shifter kit for a while, but these were only extending the bottom lever. Until recently, there was no option for lowering the shifter position. The only option I know of at this time is a countersunk shift knob. Finally a New Design ApproachWhen I first saw this thread on tsxclub.com, I was immediately interested:Quest for the Ultimate/Affordable TSX Short Shifter Why? Because it was if I was watching someone design the product I've been waiting for. I had looked at both the Comptech® and Neuspeed® kits. Both extended the bottom of the existing lever. I was not satisfied with this design for two reasons:
How it Works...In the simplest terms, the shifter is a lever system. Changing the legnth of either side of the lever will change the way the shifter operates. Either decreasing the legnth of the top lever (between the pivot point and the shift knob) or increasing the legnth of the bottom lever (between the pivot point and the connection to the shifter cable) will reduce throw and increase the effort required to shift. This kit does both, however, neither to the extreme.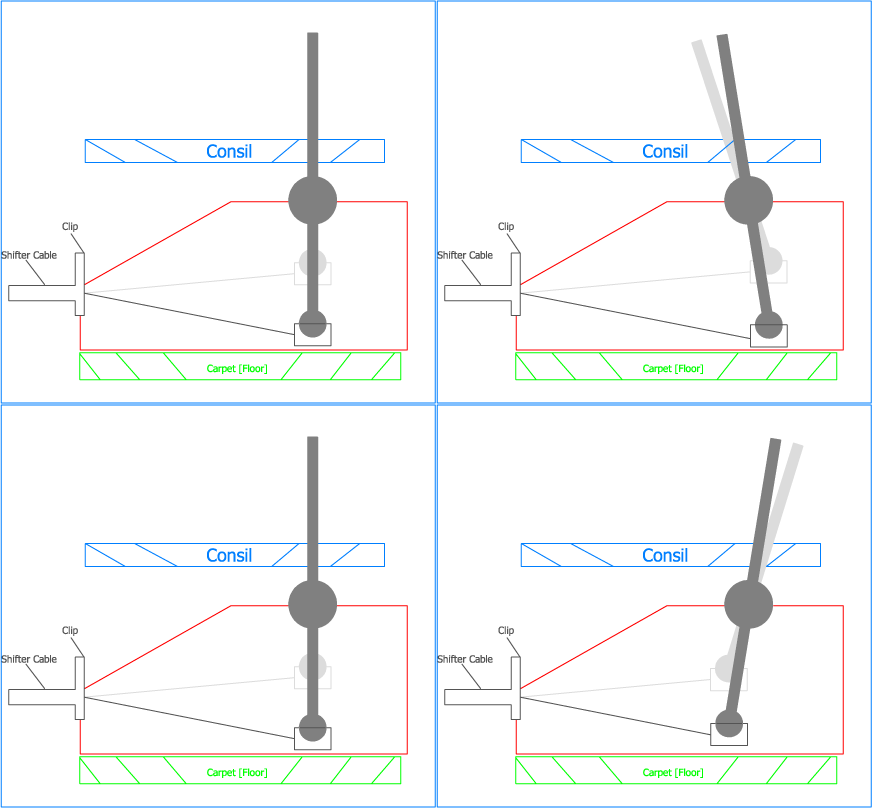
Pre-Installation ImpressionsWhen the parts arrived, I was very impressed with the quality of workmanship. The kit anticipated everything needed to do the job. No extra trips to the auto parts store. I am not a mechanic, though I am somewhat mechanically inclined. I felt comfortable attempting this based on seeing the pictures and video.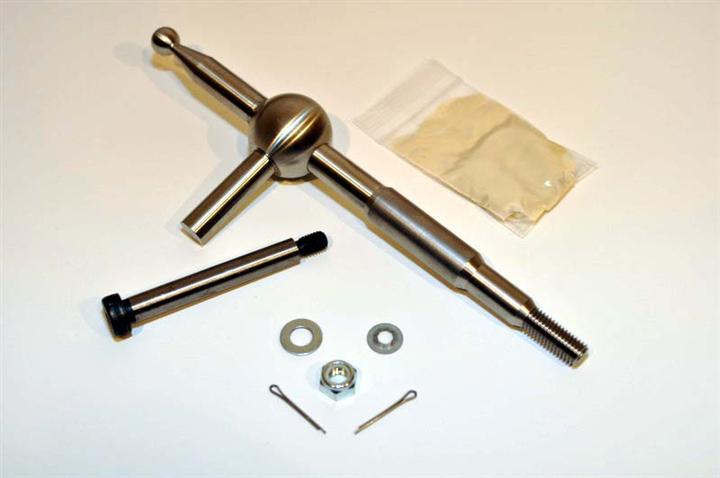 Note: There are options to replace/upgrade the plasic bearings instead of reusing the stock parts. InstallationYou will need a few hours to do this. Work carefully, take your time. None of the installation steps are tricky or difficult. If you can handle basic maintenance tasks, you could probably do this as well.You will need:
Remove shift knob by holding lower jam nut in place with 14mm wrench and twist knob off: 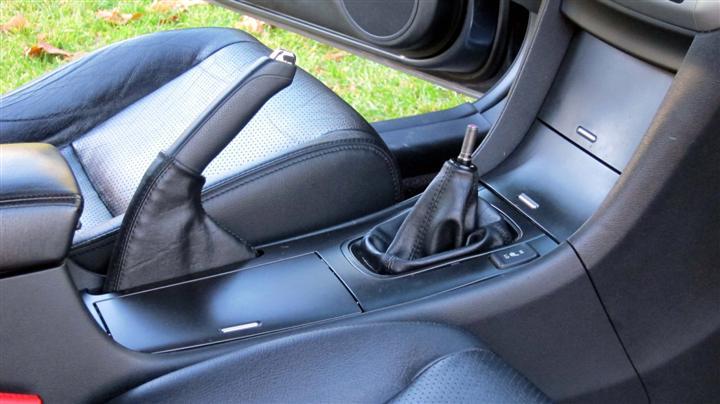
Remove console by pulling straight up (no tools required) 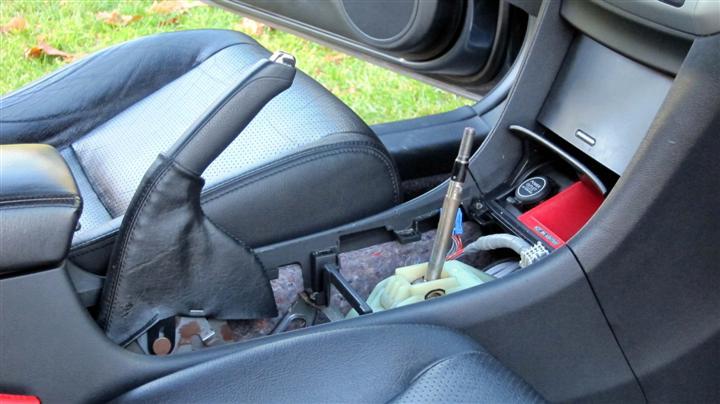
Remove storage pocket by pulling straight out towards you (no tools required) 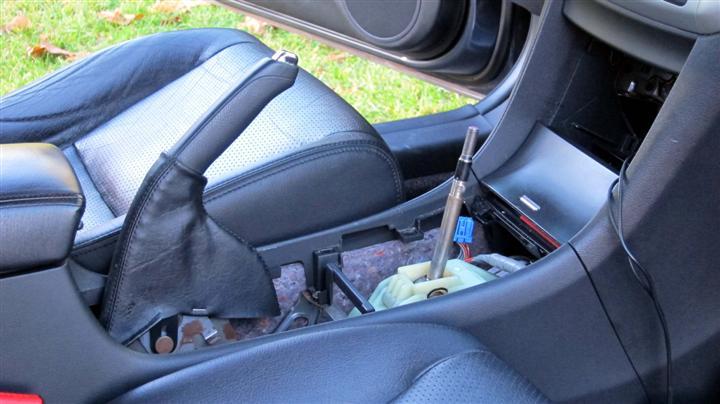
Remove "Not an Ashtray" by removing 4 Phillips screws and disconnecting the wire for the power outlet. 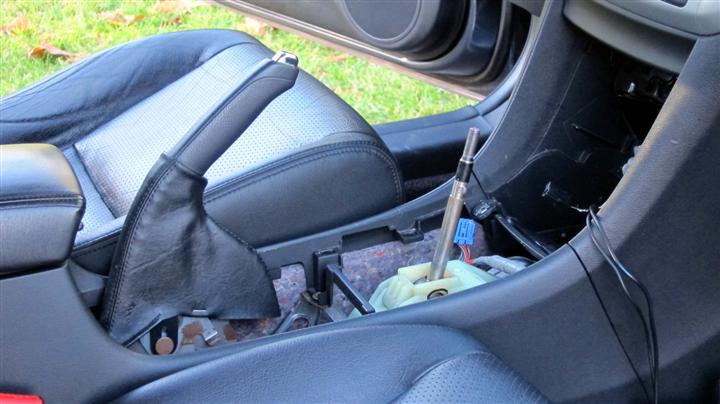
Remove the lower center console There are 10 Phillips screws to remove:
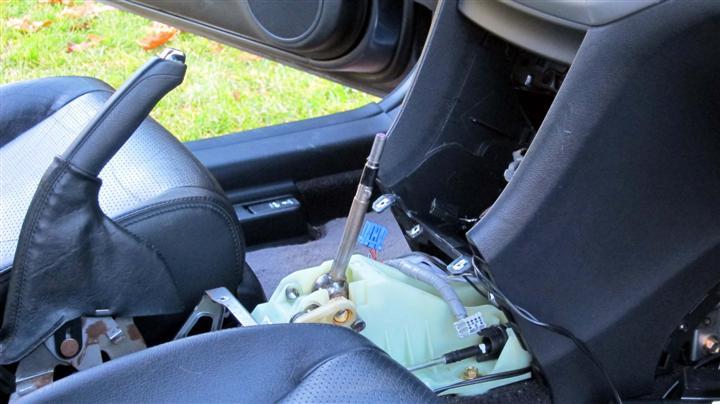 Tip: Access to the front side console screws is easiest when you line up the lowest part of the seat with the screw and push the cushion down slightly to keep the screwdriver perpendicular to the screw. Lower the power seats all the way, the slide seat forward and back. A magnetic pickup tool is helpful here if you have a tenancy to drop screws. Access to the rear screws is very easy with the screws moved all the way forward. The install within the shifter box is already documented by a video. This video was made by Bardi himself, and used with his written permission. 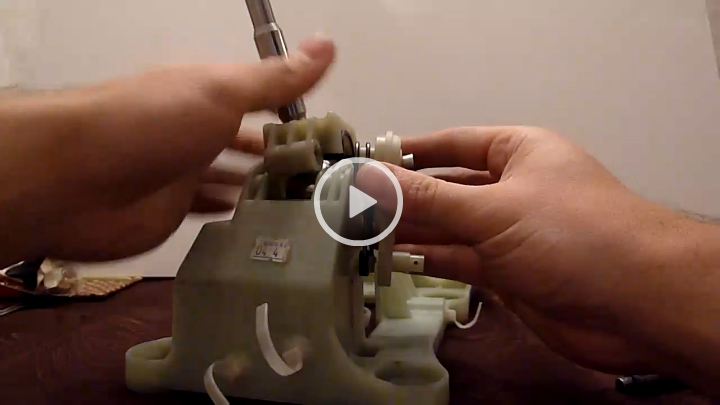
There is one extra step for the perfectionists out there... You may wish to shim the shift lever retainer to reduce play. A little goes a long way here. I did this with four layers of adhesive aluminum tape (normally used for duct work). You could cut up some shim stock, or probably just use plain sheet metal. Note: the shimming is not something necessary because of the short shifter design – it is necessary due to the part tolerance of the OEM shifter box. 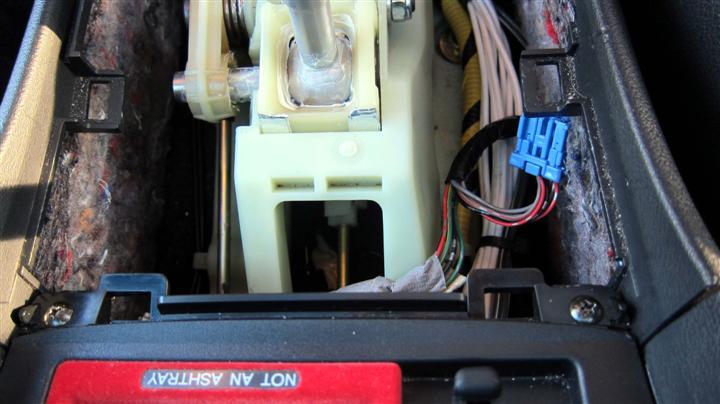
Hint: There are still some options if you want to go even lower! You can replace the 14mm jam nut with something lower profile, eliminate it all togteher, or even use this with a countersunk shift knob! Driving ImpressionsThe first thing I needed to do was go in reverse to get out of the driveway. This took a little bit of extra effort (enough to notice), but not much more than I remember with the stock part. Then to first gear. First gear engaged very swiftly, still smooth, and felt SOLID. That's it? I'm in gear already? YES! This is a totally different shifting experience that will take a little getting used to, especially after the amount of time I've driving the car with the OEM shifter.I've done some around town driving, and finally some back roads where I could open things up a bit. Wow! This adds a bit of fun to the car. Reducing the height of the shift knob and extending the bottom lever had both contributed to the shorter throw. The throw reduction is actually drastic, yet this does not seem to be more work. The movement is more precise, and extremely reassuring! I'm looking forward to the next time I need to drive somewhere again! Here's a video of rowing through the gears... 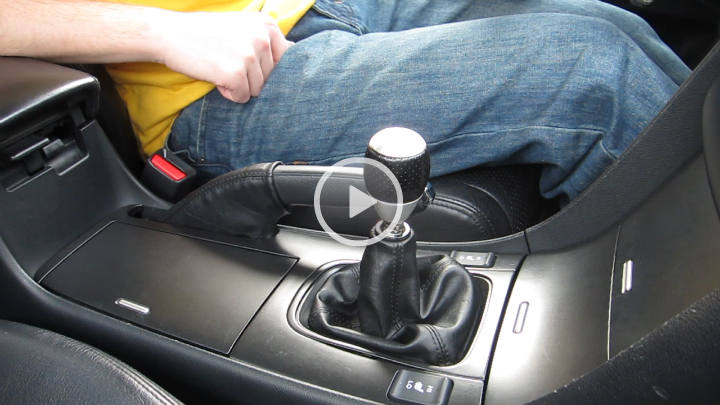
ConclusionWhere was this seven years ago? OK, you needed some development time - Where was this six years ago? I hope you continue to design short shifter kits, and that we select the same car after the TSX!Worth it? Yes. In fact, this is a value. Now for my commentary on price: Having made some small-production or customized products, I have come to realize that there is a general lack of understanding in what it takes to bring a product to the point that its ready for sale. Oftentimes there's some early iterations of the product, some that made things better, others changed a design parameter a little too much to be useable. Remember, you're starting with something that worked well, and trying to change one aspect of it without negatively impacting anything else. This is not an easy job. Neither is setting a price point. But if you start off by paying yourself half of the Federal Minimum Wage and adding up everything you've spent on parts and tooling, that's some idea of a break-even point. In this particular case, you are buying a part that far exceeds the OEM piece in terms of tolerance and finish. It is the right drop in shift knob position and the right reduction in throw. I truly appreciate the work that went into this kit, not to mention the reason this was done. For someone to take their own cash and take a risk in order to advance the community is really a contribution. Thank you for redesigning this shifter! |